A Beginners Guide To Self-Tanning

A beginners guide to self-tanning
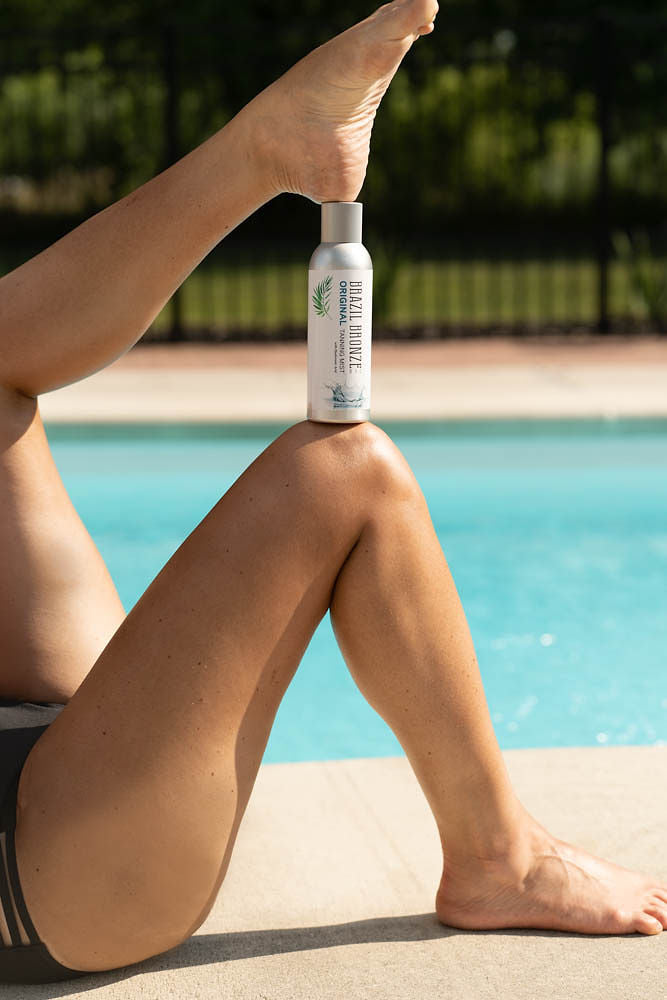
Self tanning can be a great way to get that summer glow all year round. However, it can also be tricky to get right. This guide is designed to help beginners understand the basics of self tanning and how to achieve the perfect sun-kissed look. Whether you're looking for a subtle hint of color or a deep bronze glow, follow these tips to get started!
How To Choose The Right Self-Tanner
If you're looking for a way to get that sun-kissed look without spending hours in the sun, self-tanner may be the answer. But with so many products on the market, it can be tough to know which one is right for you. Here are a few things to keep in mind when choosing a self-tanner:
Skin Type: If you have sensitive skin, you'll want to choose a self-tanner that is specially formulated for sensitive skin. This will help to avoid any irritation or skin problems.
Application: Some self-tanners come in lotions or creams, while others are sprays. Choose the application method that you feel most comfortable with. Keep in mind that spray tanners can be more difficult to apply evenly, so you may need to practice a bit before getting the results you want.
Color: Self-tanners come in a range of shades, from light to dark. Choose the color that best suits your skin tone. If you're not sure, it's always better to err on the side of caution and go for a lighter shade. You can always add another layer if you want a darker color.
With these tips in mind, you'll be able to find the perfect self-tanner for your needs.
The Best Way To Apply Self-Tanner
Applying self-tanner can be a tricky business. We encounter people of all skill levels in spray tan training sessions. If you don't apply tan the right way, you can end up with streaks, patches, and an overall uneven appearance. However, with a few simple tips, you can achieve a natural-looking tan that will last for days.
First, make sure to exfoliate your skin before application. This will help to create a smooth canvas for the self-tanner and ensure even coverage.
Next, apply the self-tanner using long, sweeping motions. Be sure to pay special attention to areas like the elbows and knees, which can be prone to streaking.
Lastly, allow the self-tanner to dry completely before getting dressed. By following these simple tips, you'll be able to achieve a beautiful, bronzed look that will last all summer long.
How To Remove Self-Tanner
Sometimes self-tanner can get streaky or patchy, or you may simply decide that you want to go back to your natural skin tone.
Luckily, removing self-tanner is relatively simple and only requires a few household ingredients. One popular method is to make a paste out of baking soda and water. Apply the paste to the areas where you want to remove the self-tanner and let it sit for 15-20 minutes before scrubbing it off with a loofah or washcloth.
You can also try using lemon juice or white vinegar. Simply apply these ingredients to a cotton ball and wipe away the self-tanner. If you find that these methods are not working, you can always consult with a professional salon technician. With a little effort, you should be able to remove self-tanner and return to your natural skin tone.
How To Fix Self-Tanner Mistakes
One of the great things about self-tanner is that it can give you a beautiful, sun-kissed glow without any harmful UV exposure. However, self-tanner can also be notoriously tricky to apply, and it’s all too easy to end up with streaks, patches, or an overall orange hue. If you’ve made a self-tanner mistake, don’t panic! There are a few simple steps you can take to fix it.
If your self-tanner is too light or patchy, the easiest solution is to simply reapply. Make sure to exfoliate first to avoid further streaks, and be sure to apply evenly for best results. With a little trial and error, you’ll be a self-tanning pro in no time!
The Different Types Of Self-Tanner
Self-tanner comes in a variety of formulations to suit different needs and preferences. Those with sensitive skin or who are looking for a more natural-looking tan may prefer a lotion or cream self-tanner. These formulas are typically easy to apply and dry quickly.
Gels and mousses are good choices for those who want a streak-free tan, while sprays are ideal for those who want an even coverage over a large area. Those with very fair skin may want to choose a self-tanner that contains bronzers, which can help to create a deeper tan. Others may prefer a self-tanning product that contains shimmer or glitter for a bit of extra glow. Ultimately, the best self-tanner is the one that works best for you and your individual needs.
The Pros And Cons Of Self-Tanning
Self-tanning products can have both positive and negative effects on your skin. On the plus side, self-tanner can help to camouflage imperfections and even out your skin tone. It can also give you a boost of confidence and make you look and feel more attractive.
However, self-tanner can also cause skin irritation, dryness, and breakout. In some cases, it can also lead to an uneven tan. When using self-tanner, be sure to read the instructions carefully and test the product on a small area of skin before applying it to your entire body. With a little bit of care and caution, you can enjoy all the benefits of self-tanning without any of the drawbacks.
How Self-Tanning Works
A self-tanning product gives your skin a temporary bronze color by delivering a small amount of colorless DHA to the surface of your skin. DHA is a sugar that interacts with the dead cells in the stratum corneum, the outermost layer of skin. DHA does not actually tan your skin; it merely causes the dead cells to darken. As these cells are eventually shed, the bronze color will fade. Self-tanning products come in a variety of forms, including lotions, gels, sprays, and wipes.
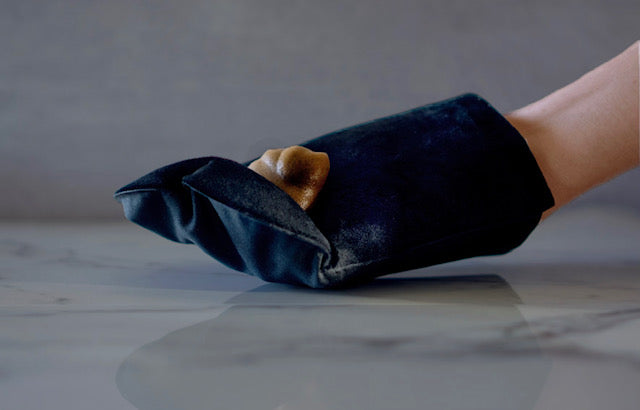
Depending on the product, they can be applied with the hands, a sponge, or an applicator mitt. For best results, exfoliate your skin before application and apply an even layer to clean, dry skin. Be sure to wash your hands thoroughly after application and avoid getting wet for several hours to give the DHA time to react with your skin. With proper care, a self-tan can last for several days.
How To Prepare Your Skin For Self-Tanning
First, exfoliate your skin with a loofah or body scrub to remove dead skin cells. This will help to create an even base for the product and ensure that your tan looks natural. Next, apply a barrier cream or lotion to areas that are prone to dryness, such as your elbows, knees, and ankles. This will help to prevent the self-tanner from clinging to these areas and creating streaks. Finally, make sure that you apply the product evenly and in sections to avoid missing any spots. With proper preparation, you can achieve a beautiful and natural-looking tan at home.
How To Maintain Your Self-Tan
Here are a few tips for keeping your self-tan looking its best:
Exfoliate regularly. This will help to prevent the build-up of dead skin cells, which can make your tan look patchy and uneven.
Moisturize daily. A good moisturizer will help to hydrate your skin and prevent it from losing its moisture too quickly, which can cause your tan to fade.
Apply self-tanner evenly. Be sure to use a smooth, even strokes when applying self-tanner to your skin. Applying it unevenly can result in an uneven tan.
Avoid water and sweat. Water and sweat can both cause your self-tan to come off, so it’s important to avoid them if you want to maintain your tan. If you do get wet or sweaty, be sure to reapply self-tanner as soon as possible.
By following these simple tips, you can keep your self-tan looking its best for weeks at a time. Browse our tanning salon Soho today for a varied range of self tanning products, we have something for everyone!